
IDE integration guide
How to Use OpenCode in VS Code: 7 Setup and Workflow Checks
The quickest way to use OpenCode in VS Code is to open the integrated terminal and run opencode. The official extension installs automatically, then Ctrl+Esc on Windows or Linux, or Cmd+Esc on macOS, opens or focuses a split OpenCode terminal. This guide goes beyond installation: it shows how editor context is shared, which shortcuts matter, how to keep terminal permissions predictable, and how to diagnose the failures that make a working CLI look like a broken extension.
- Quick answer
- how to use OpenCode in VS Code
- Documentation check
- Verified July 29, 2026
- Reading time
- 16 min read
Quick answer
OpenCode in VS Code at a glance
| Task | Recommended action | What to verify |
|---|---|---|
| Install | Run opencode in the VS Code integrated terminal | The OpenCode extension appears and the CLI starts in the project folder |
| Open or focus | Ctrl+Esc on Windows/Linux; Cmd+Esc on macOS | A split terminal opens or the existing OpenCode session receives focus |
| Start another session | Ctrl+Shift+Esc or Cmd+Shift+Esc | A new terminal session starts without replacing the current one |
| Share context | Select code or keep the relevant tab active | OpenCode receives the intended selection or file context |
| Reference a file | Alt+Ctrl+K or Cmd+Option+K | A file reference such as @File#L37-42 is inserted |
| Repair installation | Check the integrated terminal, code command, and extension permissions | The same PATH is visible inside VS Code and a fresh shell |
1. Check the CLI and project before installing the extension
The VS Code integration does not replace the OpenCode CLI. It gives the CLI editor context, shortcuts, and a predictable split-terminal launch point. Install OpenCode first, open the repository you actually want to work on, and run opencode --version in VS Code's integrated terminal. If that command is not found there, the extension cannot repair the missing executable. Fix the shell PATH before testing editor features.
Use a real project folder rather than an empty editor window. OpenCode makes better decisions when it can see the repository boundary, Git history, configuration, and the files referenced by your selection. Before the first session, review ignored files and remove secrets from ordinary source files. An IDE integration makes context sharing convenient, so it also makes accidental context sharing easier if the project is poorly organized.
Confirm that your model provider already works in a normal OpenCode session. A provider authentication failure, unavailable model, proxy error, or rate limit can occur after the IDE launches correctly. Separating CLI, provider, and extension checks prevents you from reinstalling the extension when the real failure is upstream. The homepage deployment guide covers the broader provider setup; this page keeps its scope on VS Code integration.
2. Install and launch OpenCode in VS Code in 5 steps
First, open VS Code and load the repository folder. Second, open Terminal > New Terminal so the shell starts inside that workspace. Third, run opencode. According to the official IDE documentation checked on July 29, 2026, OpenCode detects VS Code and installs its extension automatically. Fourth, let the CLI finish starting and confirm that the terminal session can read the current project. Fifth, press Ctrl+Esc on Windows or Linux, or Cmd+Esc on macOS, to verify that the extension can open or focus the split terminal view.
Automatic installation is the best default because it proves that the CLI, editor, and extension belong to the same environment. If you prefer a manual path, search for OpenCode in the VS Code Extension Marketplace and choose Install. Manual installation can restore the UI integration, but it still requires a working opencode command. Do not treat an installed extension badge as proof that the executable, provider, or workspace permissions are correct.
For a separate conversation, use Ctrl+Shift+Esc on Windows or Linux, or Cmd+Shift+Esc on macOS. This starts a new OpenCode terminal session even when another is already running. Use separate sessions deliberately: one for a focused implementation task and another for investigation can be useful, but two agents editing the same files at once create avoidable conflicts. Keep each session's goal and file boundary explicit.
3. Use selections, active tabs, and file references as context
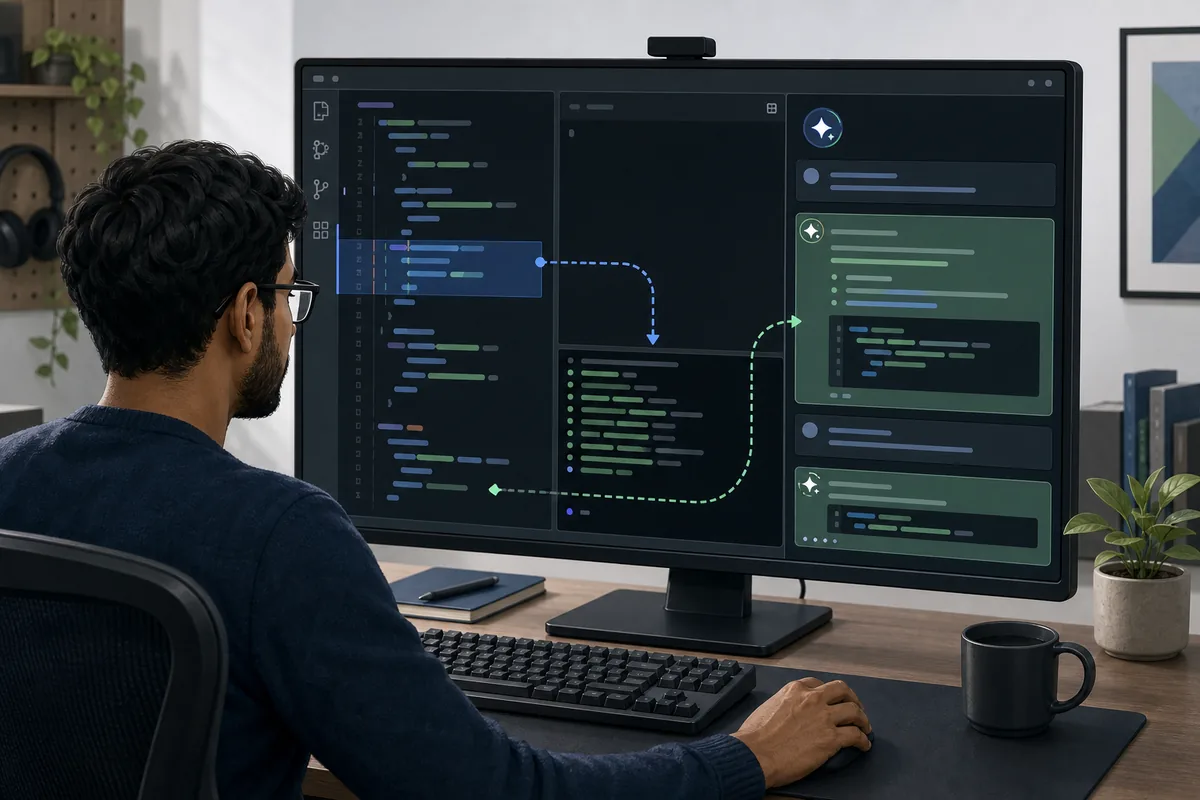
The main benefit of the extension is context awareness. Select the smallest block that explains the problem before asking a question. A function, error-handling branch, or configuration object is usually more useful than an entire large file. OpenCode can also use the active tab, but an explicit selection reduces ambiguity and helps you review exactly what was shared with the terminal session.
Use Alt+Ctrl+K on Windows or Linux, or Cmd+Option+K on macOS, when you want a durable file reference in the prompt. The official example uses a shape such as @File#L37-42. Line references are valuable for review questions and narrow refactors because the prompt documents the intended boundary. Recheck the line range after large edits, since inserted or deleted lines can make an old reference point at different code.
Context is not the same as permission. A selected block helps OpenCode understand your request, but file edits and shell commands still follow the configured OpenCode permission policy. Ask for an explanation first when you are unsure, inspect the proposed plan, then allow a narrow edit. The editor makes reviewing diffs easier; use that advantage instead of granting broad permissions only to save one confirmation.
4. Use a reviewable daily workflow instead of treating it like chat
Start each task with the repository state. Check Git status, describe the expected outcome, and identify files that must not change. Then select the relevant code or add file references before asking OpenCode to inspect the problem. For implementation work, request a short plan only when the change spans several modules; for a narrow fix, ask for the edit and its validation directly. The goal is a clean diff, not a long conversation.
Keep the integrated terminal visible while OpenCode runs commands. You should be able to see which working directory is active, which command was requested, and whether the result belongs to the same environment as VS Code. After an edit, review the Source Control diff, run the smallest relevant test or formatter, and then run the broader project check when risk justifies it. A green command without a reviewed diff is incomplete evidence.
Use new sessions for context resets, not as a substitute for closing finished work. If a session has accumulated unrelated instructions, start another with Ctrl+Shift+Esc or Cmd+Shift+Esc and restate the task boundary. Keep one owner per changing file when multiple sessions or teammates are involved. Commit only after the intended changes, generated output, and validation results are understandable from the diff.
5. Keep permissions, secrets, and terminal scope predictable
VS Code may open different shells depending on your profile, remote environment, container, or operating system. Confirm the terminal profile before approving commands, especially when the workspace is attached through SSH, WSL, Dev Containers, or a network share. A command that is harmless in a local clone may affect a remote service when the integrated terminal points elsewhere. Put the environment name in your own task notes and verify the prompt path before destructive operations.
Do not select secrets, private keys, production configuration, customer records, or large unrelated files merely because sharing context is convenient. OpenCode sends relevant context to the configured model provider unless you are using a verified local-provider setup. Review provider retention and organizational policy separately. Use environment variables or secret managers, keep sensitive files ignored, and redact values from error examples before asking for help.
Permission rules should reflect the repository, not the editor. Allow read-only inspection broadly enough for useful analysis, require confirmation for commands with side effects, and keep deployment, database, payment, and authentication changes under explicit human review. The extension should shorten navigation between editor and terminal; it should not silently widen what an agent is allowed to do.
6. Fix OpenCode VS Code integration errors in the right order
When automatic installation fails, first prove that opencode runs inside the VS Code integrated terminal. A command that works in an external PowerShell, Terminal, or shell window may be missing from VS Code because the editor was opened before PATH changed. Fully close and reopen VS Code after installing the CLI. Then compare the executable location in both shells and confirm that the workspace terminal uses the expected profile.
Next, confirm that the VS Code code command is installed. The official OpenCode troubleshooting guide lists code for VS Code, cursor for Cursor, windsurf for Windsurf, and codium for VSCodium. On macOS, open the Command Palette and run Shell Command: Install 'code' command in PATH. On Windows or Linux, confirm that code --version works in the same integrated terminal. Finally, verify that VS Code is allowed to install extensions and that organization policy has not blocked the marketplace.
If the extension is present but shortcuts do nothing, check VS Code Keyboard Shortcuts for conflicts before reinstalling. If the session opens but has no project context, verify the active workspace, selected text, and terminal working directory. If the session starts but the model fails, return to provider authentication, model availability, proxy, and rate-limit checks. Each layer has a different owner, so test one layer at a time.
| Symptom | Likely cause | First check |
|---|---|---|
| spawn opencode ENOENT | VS Code cannot find the CLI | Run opencode --version in the integrated terminal and reopen VS Code after PATH changes |
| Extension does not install | CLI was run outside the IDE or installs are blocked | Run opencode inside VS Code and check extension permissions |
| Ctrl+Esc does nothing | Keyboard shortcut conflict | Inspect Keyboard Shortcuts and search for the OpenCode command |
| Wrong file context | Selection, tab, or workspace is not the intended one | Select the exact lines and insert an explicit file reference |
| Session opens but model fails | Provider, network, or model issue | Test the same model in a normal OpenCode terminal session |
7. Reinstall only after you isolate the extension layer
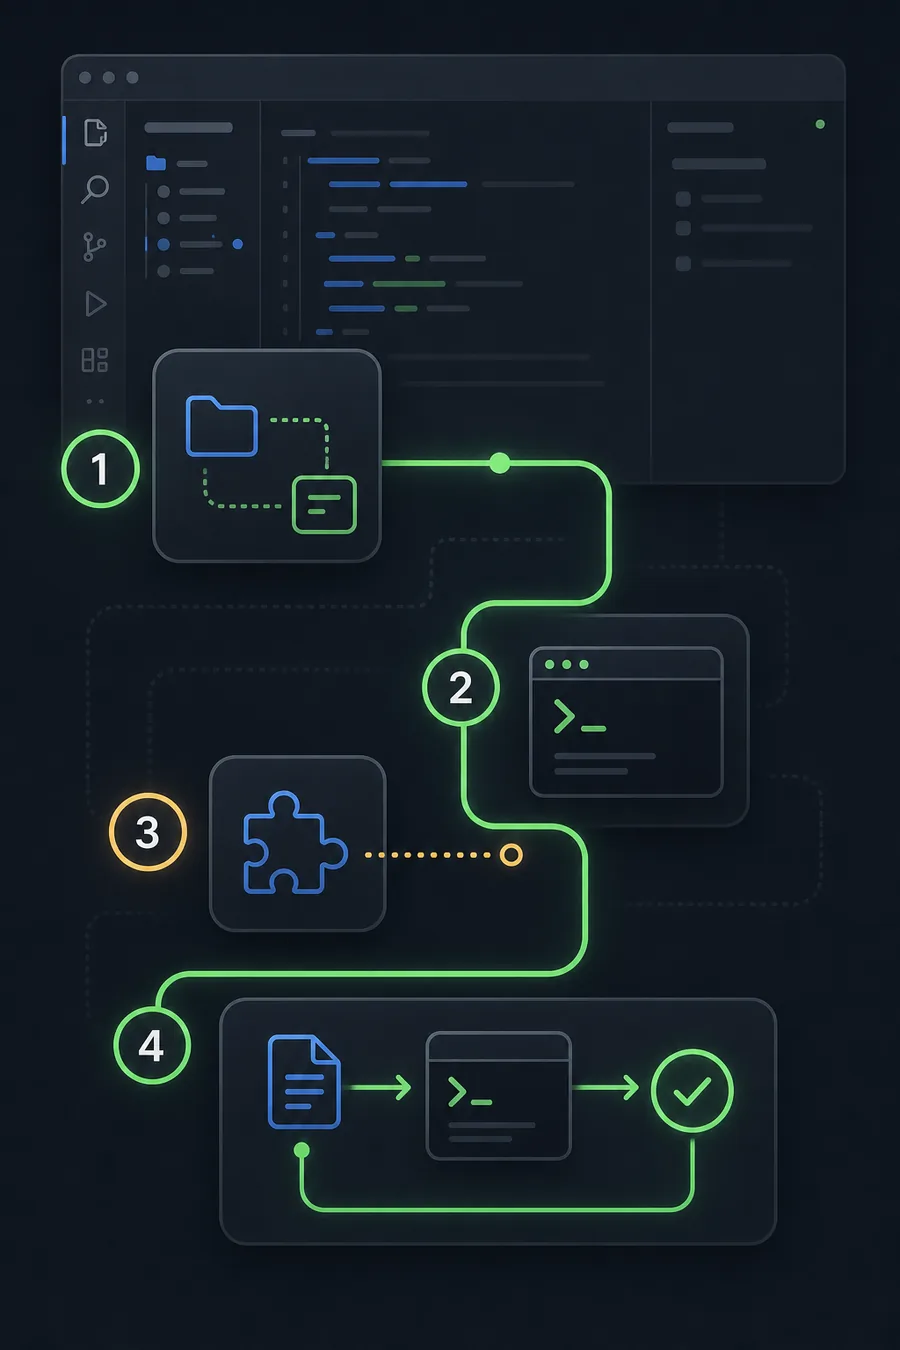
Reinstalling is appropriate when the CLI works in the integrated terminal, the code command is available, provider requests succeed, and only the editor commands remain missing or corrupted. Remove the OpenCode extension from VS Code, close every editor window, reopen the repository, and run opencode in a fresh integrated terminal so automatic installation can rebuild the connection. Then test the quick-launch shortcut before restoring custom keybindings.
If your editor has no supported extension workflow but does support a terminal, you can still run OpenCode there. You lose some automatic selection and shortcut behavior, but the terminal session remains usable. For /editor or /export behavior from the TUI, the official docs recommend setting EDITOR to code --wait for VS Code. Keep this separate from the extension setup: EDITOR controls which external editor command OpenCode invokes, while the extension controls IDE context and shortcuts.
A successful setup ends with evidence: the CLI runs in the project folder, the extension opens or focuses the session, selected code arrives as intended, a small edit produces a reviewable diff, and the relevant test passes. Record the VS Code, OpenCode, operating system, terminal profile, and provider used for that baseline. Those details make later regressions much faster to diagnose.
OpenCode VS Code FAQ
Does OpenCode have a VS Code extension?
Yes. OpenCode's official IDE documentation describes an extension for VS Code and popular forks. Running opencode in the integrated terminal installs it automatically; manual Marketplace installation is also available.
How do I open OpenCode in VS Code?
Press Ctrl+Esc on Windows or Linux, or Cmd+Esc on macOS. The command opens a split terminal view or focuses the existing OpenCode session.
How do I start a second OpenCode session?
Use Ctrl+Shift+Esc on Windows or Linux, or Cmd+Shift+Esc on macOS. Keep the sessions on separate task or file boundaries to avoid conflicting edits.
Why does VS Code say spawn opencode ENOENT?
VS Code cannot resolve the opencode executable in its current PATH. Test opencode --version inside the integrated terminal, restart VS Code after PATH changes, and verify the selected terminal profile.
Can OpenCode use selected code from VS Code?
Yes. The extension shares the current selection or active tab as context. For a precise persistent reference, use Alt+Ctrl+K or Cmd+Option+K to insert a file and line range.
Does OpenCode run locally inside VS Code?
The CLI and extension run on your machine or connected development environment, but model requests may go to the configured provider. A fully local data path requires a verified local model/provider setup.
Can I use the same setup in Cursor or VSCodium?
The official docs list VS Code, Cursor, Windsurf, and VSCodium. Their CLI commands differ, so verify cursor, windsurf, or codium is available when automatic installation fails.
Verified references
Official documentation used for this guide
Features and shortcuts were checked against the official OpenCode IDE page on July 29, 2026. Extension behavior can change, so recheck the official page after major OpenCode or VS Code updates.